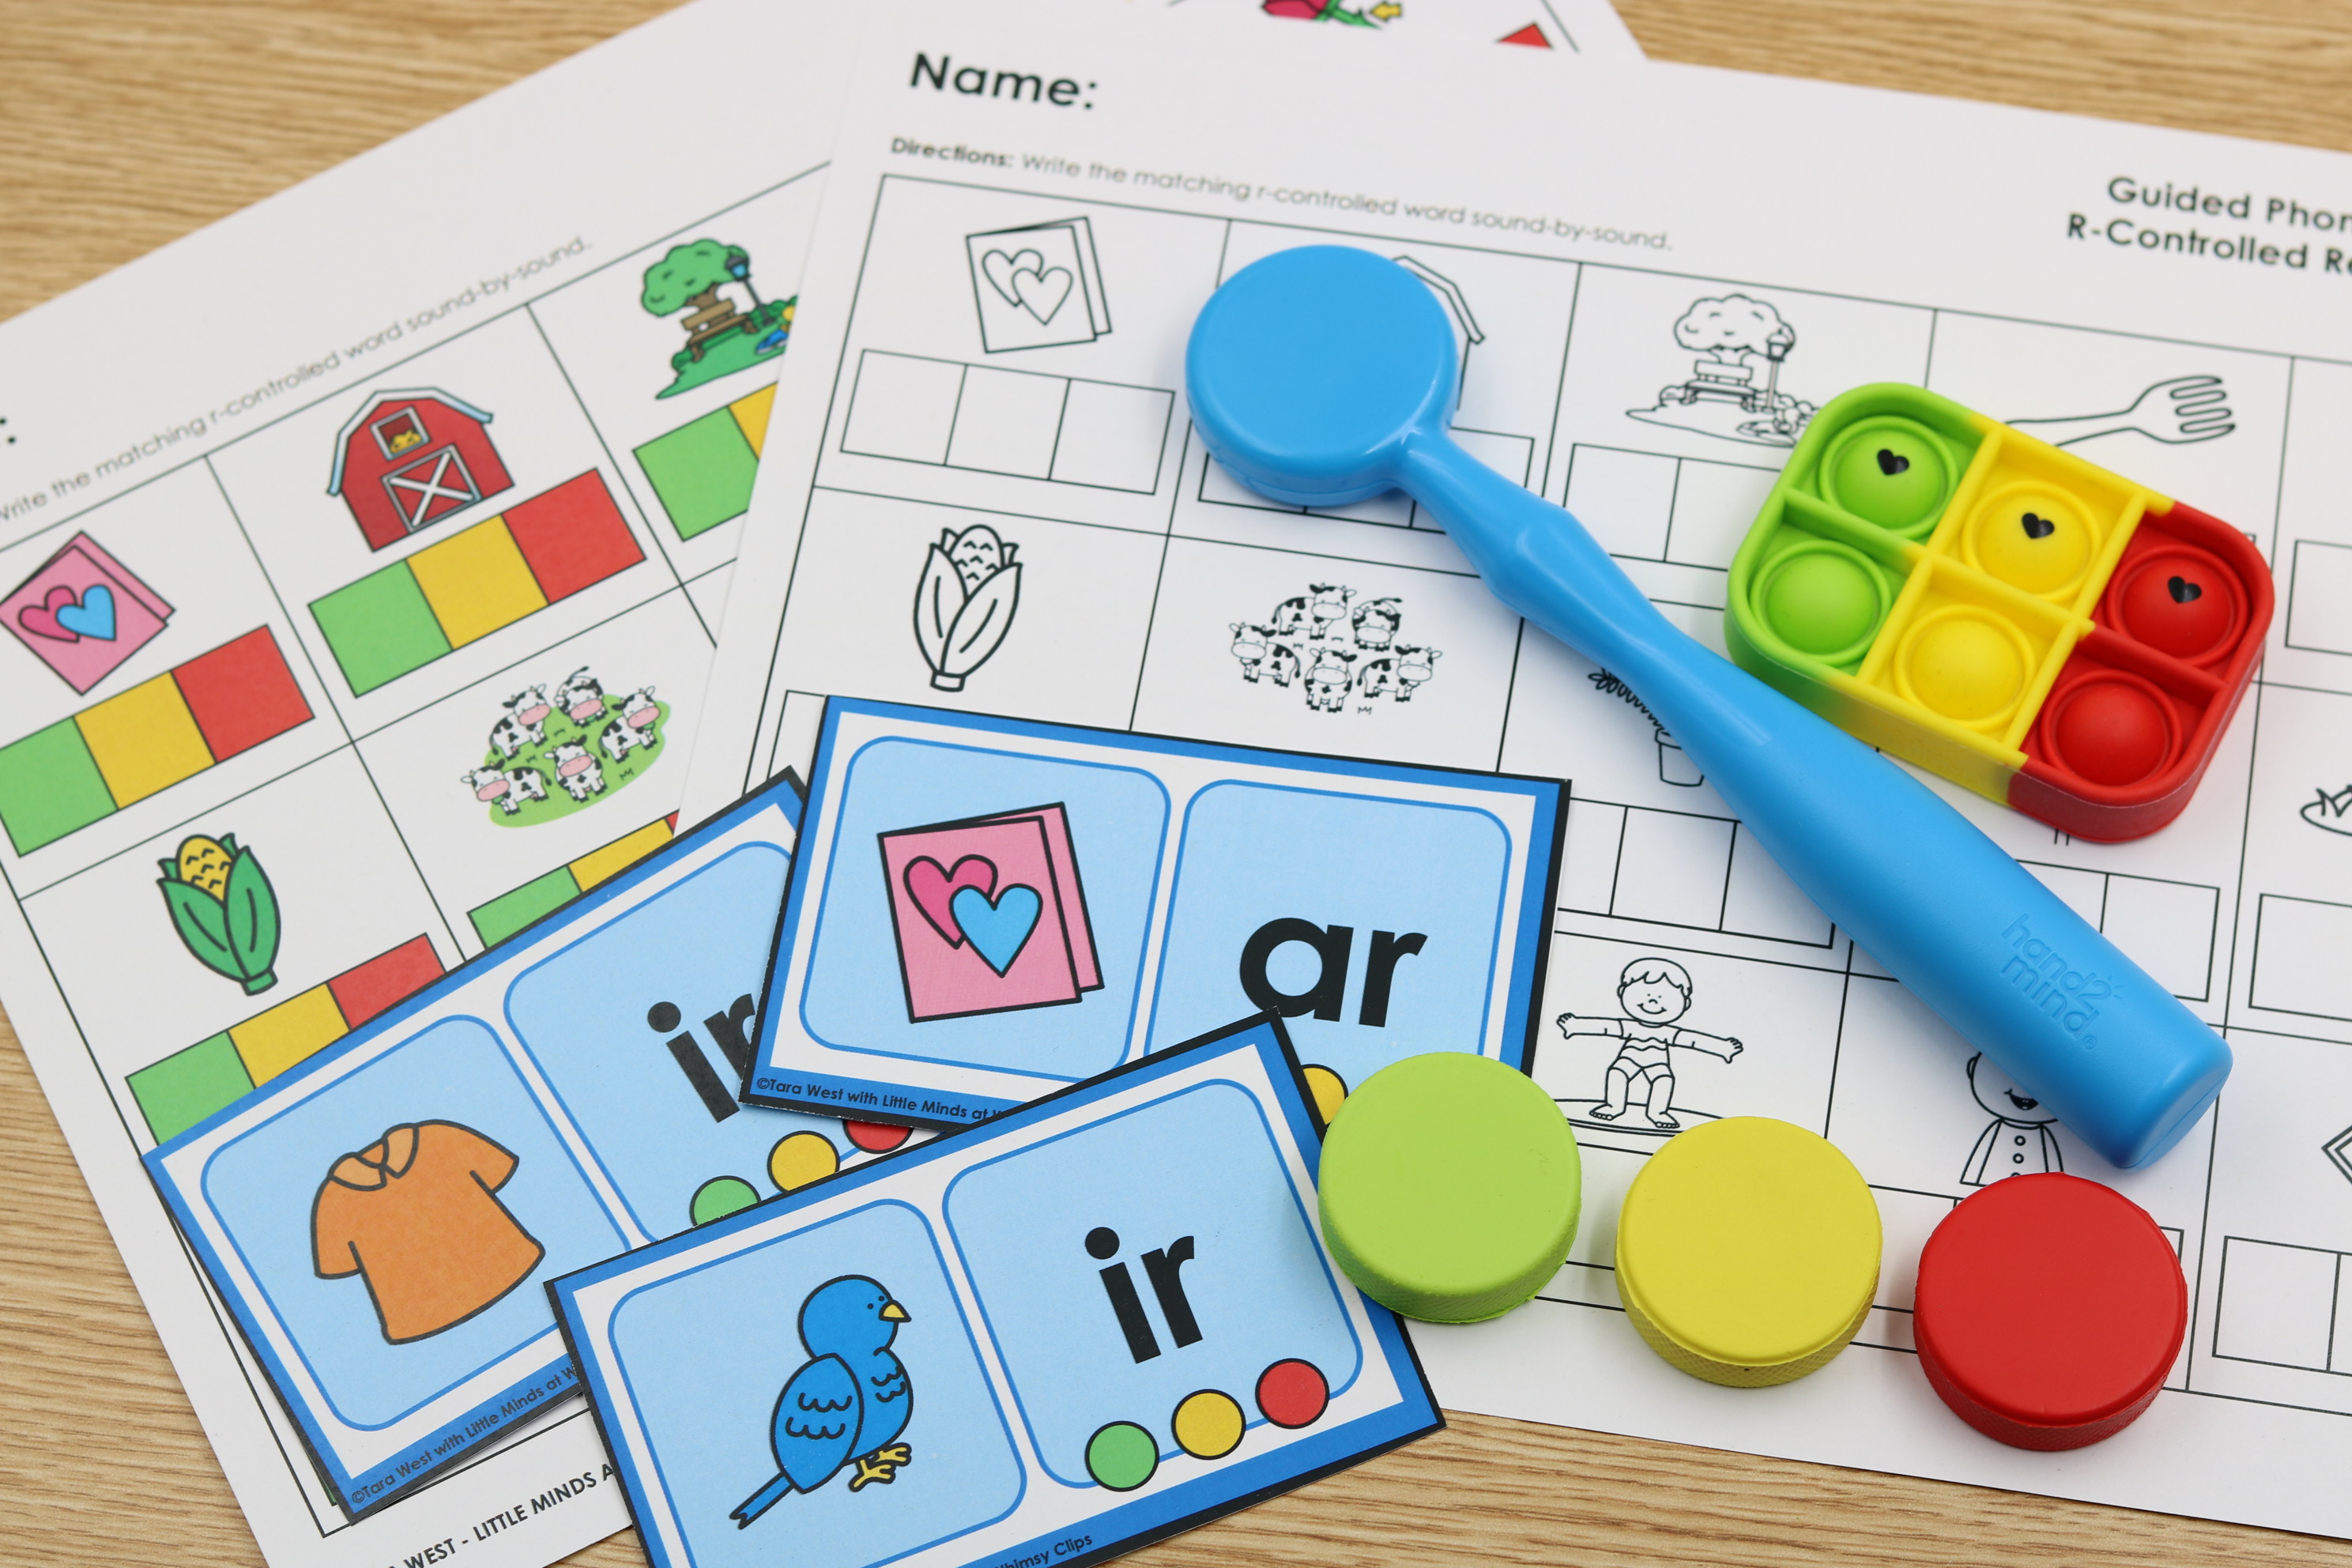

Hello, passionate educators and literacy leaders! As you know, phonics instruction is...
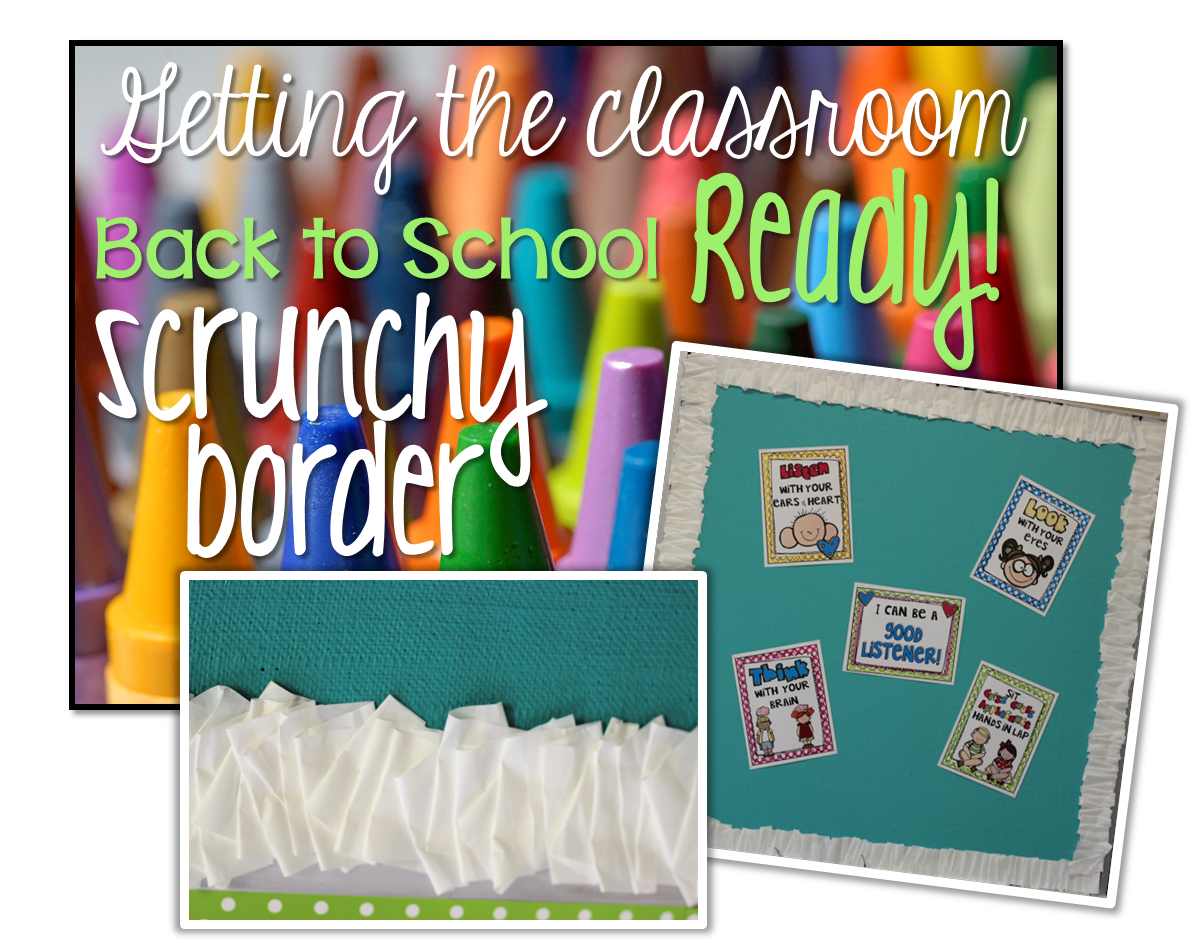
Hi friends! I am back with another getting your classroom ready post! This time I will show you how to tackle and conquer a scrunchy border for your bulletin board! Now, if you are in a pinch time wise for back to school this may not be your best, but look no further if you have a little time to spare and want a super cute pop to your bulletin boards….scrunchy borders!
You can see a snap shot below showing one of my bulletin boards completed with a scrunchy border! I ….rather that my husband painted my bulletin boards for me this summer! I used fabric for a couple of years, but this was so much cuter!
The posters on the bulletin board are a freebie from Christie at First Grade Fever
The color I chose was A Day at the Jewelers from Lowe’s! I would recommend to prime your bulletin boards ahead of time so they don’t soak up as much of the second coat!
Okay, now back to the scrunchy borders! I had seen them on Pinterest, but wasn’t quite sure how to make it work until I just went ahead and tried! I am NOT a perfectionist when it comes to “crafty” tasks so this was just for me! It didn’t need to be straight or cut perfectly..I was able to truly “wing it!” I knew though, that I wouldn’t want any staples to show after it was complete..so that was the only tricky part! Do you see any staples?
Well, the only time you can see the staples would be when you get very close and stand looking down…you can see a view peak-a-boo staples, but they don’t show up from just viewing from afar!
You can see that is is not perfect {with intention}! The paper overlaps the silver frame at times which is a-okay with me! I have seen others cut along the frame to make it look straight, but I was going for a different look 🙂
Okay, so how do you get started? The only materials you will need would be bulletin board paper -you could use regular copier paper as well it will just take more strips, scissors, stapler, and possible glue stick {white-not purple}.
Cut a 2-3 inch strip from the large bulletin board paper. See I told you I do not cut straight Ha!
Then, I folder the paper like an accordion! You can also smash it a little once it has been completely folded up- which gives it a little character 😉
Next, staple the first strip to your bulletin board.
You will then fold up the next piece…being sure that cover the staple from above.
Continue this same routine down the side of the bulletin board. You can angle the pieces from side to side…just being sure that you get the staple from above covered! If you have folded a larger piece up and it is a little wavy you can use the white glue stick to hold it down!
Below is a look at the completed bulletin board! I was really trying to count to see how many strips it took for each side, but I lost track LOL! I believe it was six. Also, it is so much easier going vertical, rather than horizontal..so prepare yourself for that!
If you have any other questions please feel free to email me or comment below! If you missed my first edition you can click on the following picture! Talk soon!